Creating a Bird-Friendly Balcony: A Step-by-Step Guide
October 08, 2026 - Garden Birds

October 08, 2026 - Garden Birds

October 06, 2026 - Conservation
September 24, 2026 - Bird Species
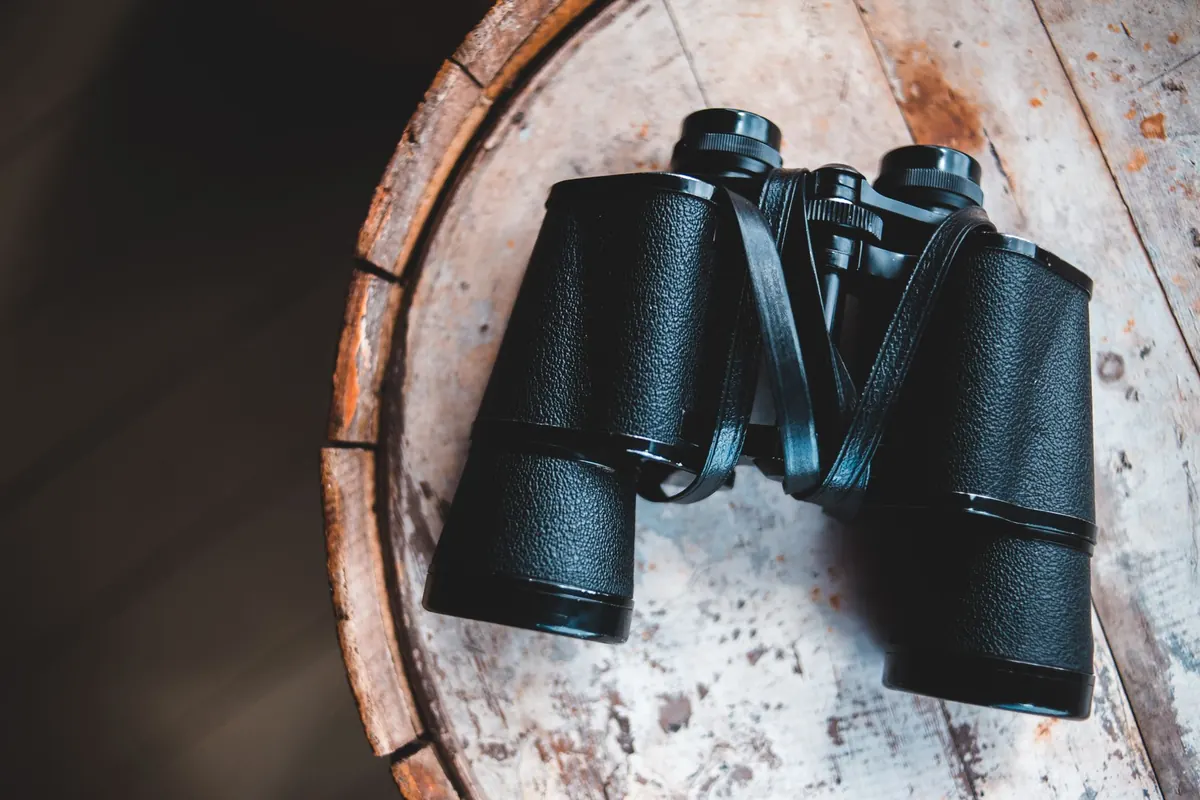
Buying your first pair of binoculars can feel like reading a spec sheet in a foreign language. Magnification, objective lenses, prism types, coatings — none of it tells you whether you'll enjoy looking through the things. The good news is that the choice is narrower than the marketing suggests. A few numbers and a little thought will get you to a pair that suits the birdwatching you actually do.
Every pair is described by two figures: 8x42, 10x32, 8x25. The first is magnification, the second is the diameter of the front lens in millimetres.
8x means the bird appears eight times bigger than it does to your naked eye. It's tempting to chase higher numbers, but magnification brings trade-offs: the view narrows, the image dims, and every wobble in your hands is magnified along with the bird. For most beginners, 8x is the sweet spot — a wide, bright, forgiving view that's easy to hold steady. Choose 10x if your hands are steady and you spend a lot of time scanning distant waders or raptors over open water, and accept that finding a bird in a crowded hedge will take a bit more practice.
The second number is the objective lens, the glass at the front. Bigger lenses collect more light and give a brighter, more detailed image, especially at dawn, at dusk and under grey cloud. They also add weight. Divide the second number by the first and you get the exit pupil: 8x42 works out at roughly 5.3mm, while 10x25 gives just 2.5mm. The larger that figure, the more comfortable the view and the better it copes as the light fades.
That makes 8x42 the classic all-rounder and a sensible first pair. 8x32 and 10x32 are lighter for long walks. 8x25 and 10x25 slip into a coat pocket but turn dim quickly once the sun drops.
Field of view is the width of the scene in front of you, usually given as metres at 1,000 metres, or in degrees. A pair listing 140m shows a much broader slice of the world than one listing 90m.
This matters more than beginners expect. A wide field makes it far easier to find a bird you've just spotted with your eyes, and easier still to follow one that's moving — a warbler working along a hedge, a flock of terns over a beach. Higher magnification almost always narrows the field, which is why cheap 12x and 15x binoculars can feel like looking through a straw. You end up searching rather than watching.
If you wear glasses, check the eye relief too. That's the distance your eye can sit from the eyepiece and still see the whole field. Look for at least 15mm, and twist-down eyecups.
Some specifications barely register in the shop but decide whether you enjoy using a pair in February. Worth checking:
Roof-prism binoculars have straight barrels and are the modern standard: compact, hard-wearing and easy to hold. Porro-prism models have the old kinked shape. They're wider and bulkier, but at the cheaper end of the market they can offer good optical value.
Whichever you pick, look for "fully multi-coated" optics. Coatings on all glass surfaces reduce glare and improve contrast, which you'll notice most when a bird is backlit against a bright sky. Roof-prism models often list "phase coating" as well, which helps keep the image crisp. Beyond that, ignore the marketing names and trust your eyes.
Binoculars are one of the few pieces of birding kit you'll keep for years, and the gap between the cheapest models and a solid mid-range pair is obvious the moment you compare them side by side: sharper detail, less colour fringing on a bird against the sky, a brighter image at dusk. Spend what you can comfortably afford, but remember that two cheap pairs rarely beat one good one.
Put your money into the glass, the coatings, the waterproofing and the eyecups. You can safely save on branding, a fancy case and the sort of accessories that never leave the box.
Second-hand binoculars can be excellent value. Check the lenses for scratches and for internal haze or fungus, which looks like cloudy spiderwebs. Look at a distant object to be sure you're seeing one image rather than two, and check that the focus moves freely. If a repair is needed, a specialist service costs money — factor that in.
Specifications narrow the field; your own eyes make the decision. Visit a shop that stocks binoculars, or ask at a local reserve or bird club — plenty of members will happily let you look through their pair for a minute.
If you can, step outside and try them in something like real conditions. Look at a distant sign to judge sharpness, at a dark bush to judge brightness, at a feeder to test the focus. Put your glasses on if you wear them. Hold a pair for a few minutes to see how it feels, and hand it to someone else to check the eyecups aren't a struggle for them. Then buy the one you enjoyed using.
The best binoculars aren't the most expensive ones on the shelf. They're the ones that live by the door, that you grab without thinking when something interesting lands in the garden.
Photo: Erik Mclean / Pexels
Turn a small urban balcony into a proper birdwatching spot with the right feeders, fresh water and a few sturdy pots...
Artificial light disrupts bird migration, breeding and feeding across the UK. Here is how night-time lighting...
October 08, 2026 - Garden Birds
October 06, 2026 - Conservation
Copyright © 2026 Finch Path. All Right Reserved.